Have you ever looked at those cute little cake pops at the bakery and thought, “Can I make these at home?”
Guess what? You totally can! Making Homemade Cake Pops is easier than you think, and it’s also a lot of fun. These tiny treats are perfect for parties, holidays, or just a sweet snack after school.
In this post, we’ll show you how to make homemade cake pops step-by-step. You’ll learn all the tips and tricks to make them look and taste amazing. Whether you’re baking for a birthday or just because, these pops will make everyone smile.
Table of Contents
What Makes Homemade Cake Pops So Special?
Cake pops are like little bites of happiness on a stick. They’re soft, sweet, and fun to eat. What makes Homemade Cake Pops extra special is that you can make them your way. You get to choose the cake flavor, frosting, and coating. Plus, you can decorate them any way you like!
Time and Difficulty
- Prep time: 45 minutes
- Bake time: 30–40 minutes
- Chill time: 1 hour
- Total time: About 2.5 hours
- Difficulty: Easy and fun for all ages!
This recipe is great for beginners. You don’t need fancy tools. Just a big bowl, a cake pan, and your hands!
Essential Ingredients for Homemade Cake Pops

Let’s go shopping! Here’s what you need to make Homemade Cake Pops.
Main Ingredients
| Ingredient | Why It’s Important |
|---|---|
| Boxed cake mix (or homemade cake) | This is the base of your pops. You can use any flavor! |
| Frosting | Helps hold the cake crumbs together. |
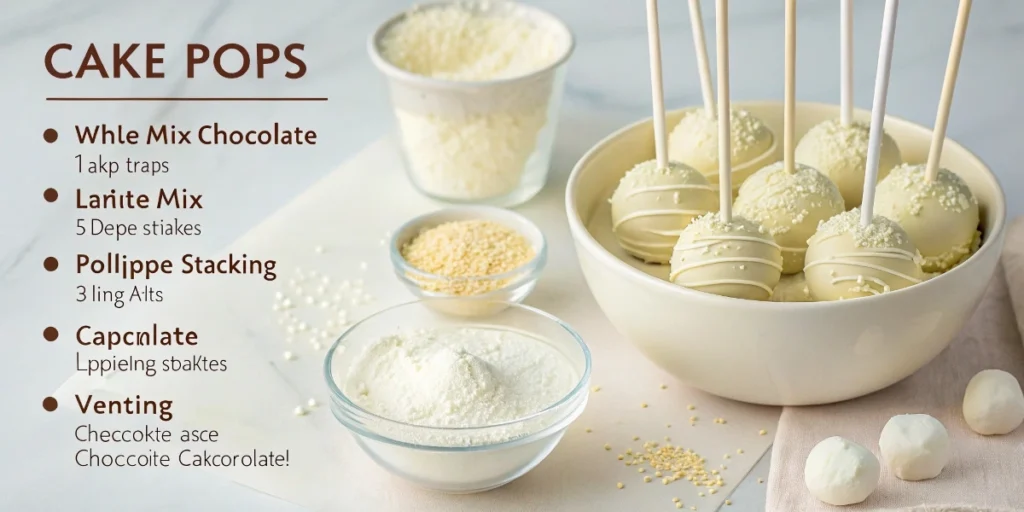
| Chocolate or candy melts | For coating the pops in a yummy shell. |
| Lollipop sticks | So you can hold and eat your cake pops easily. |
Optional Toppings
- Sprinkles
- Crushed cookies
- Chopped nuts
- Coconut flakes
Ingredient Swaps and Alternatives
- Cake mix: Use gluten-free or homemade cake.
- Frosting: Try cream cheese, vanilla, or even chocolate ganache.
- Candy melts: Use white chocolate, dark chocolate, or colorful melts for fun designs.
Step-by-Step Instructions: Let’s Make Homemade Cake Pops

Ready to get started? Follow these easy steps and you’ll be a cake pop pro in no time!
Step 1: Bake the Cake
You’ll need:
- 1 box cake mix
- Eggs, oil, and water (as listed on the box)
- Preheat your oven as the box says.
- Mix up your cake batter.
- Pour it into a baking pan and bake.
- Let the cake cool completely before moving to the next step.
Tip: You can bake the cake a day ahead and store it in the fridge.
Step 2: Crumble the Cake
- Break the cake into small crumbs using clean hands or a fork.
- Put the crumbs in a large bowl.
Tip: Make sure the cake is not too dry. Fresh cake works best!
Step 3: Mix in the Frosting
You’ll need:
- About ½ to ¾ cup of frosting
- Add the frosting a little at a time.
- Mix until the cake sticks together like playdough.
Tip: Don’t add too much frosting. You want soft cake balls, not mushy ones.
Step 4: Roll into Balls
- Scoop a small amount of cake mix.
- Roll it into a ball (about the size of a ping-pong ball).
- Place on a tray lined with parchment paper.
Tip: Use a cookie scoop to make your balls the same size!
Step 5: Chill the Cake Balls
- Put the tray in the fridge for at least 1 hour.
- You can also freeze them for 15–20 minutes if you’re in a hurry.
Tip: Don’t skip this step! It helps the pops hold their shape.
How to Assemble and Decorate Homemade Cake Pops
Step 6: Insert the Sticks
- Melt a small amount of candy coating.
- Dip the tip of each stick into the melted candy.
- Push the stick halfway into each cake ball.
- Let them set for 5–10 minutes.
Tip: This “glue” helps the stick stay in place.
Step 7: Dip and Decorate
- Melt your candy coating or chocolate.
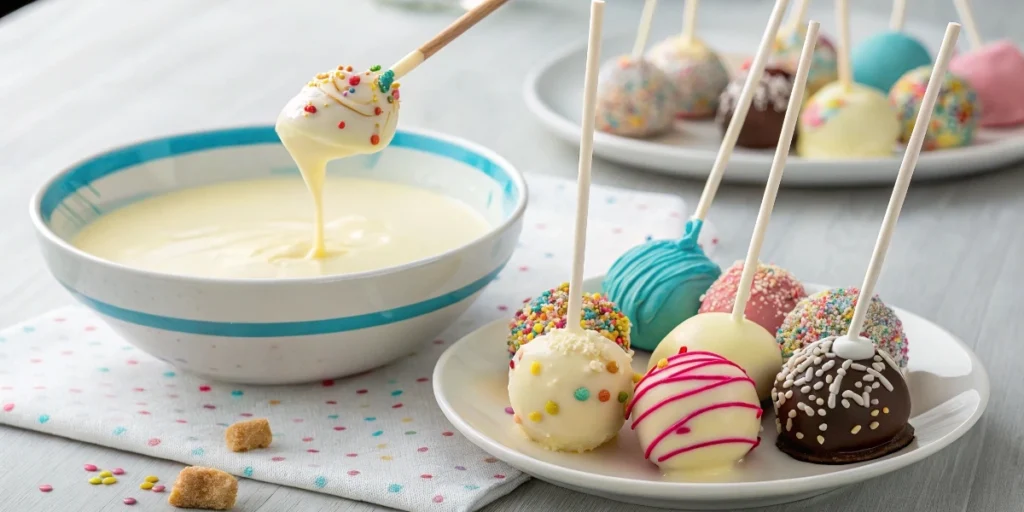
- Dip each cake pop straight down into the coating.
- Gently tap off extra coating.
- Add sprinkles or toppings before it dries.
Tip: Use a foam block or cup to hold the pops upright as they dry.
Storage and Make-Ahead Tips
Cake pops are easy to make ahead of time!
How to Store
- Room temperature: Up to 2 days in a cool, dry place.
- Fridge: Up to 1 week in an airtight container.
- Freezer: Up to 1 month. Wrap each pop in plastic wrap and freeze.
Reheating Tips
You don’t need to reheat cake pops, but if frozen, let them thaw in the fridge for a few hours before serving.
Recipe Variations: Get Creative with Your Cake Pops!
Want to try something new? Here are fun ways to change your cake pops:
Flavor Combos
- Chocolate cake + peanut butter frosting
- Lemon cake + vanilla frosting
- Red velvet cake + cream cheese frosting
- Funfetti cake + white chocolate
Seasonal Ideas
- Pumpkin spice cake pops for fall
- Heart-shaped pops for Valentine’s Day
- Green and red sprinkles for Christmas
Healthy Swaps
- Use Greek yogurt instead of frosting for a lighter version.
- Try low-sugar cake mix or natural sweeteners.
Conclusion: Time to Make Some Homemade Cake Pops!
Now that you’ve seen just how easy and fun it is to make Homemade Cake Pops, there’s only one thing left to do — get in the kitchen and give it a try! Whether you’re a baking beginner or a seasoned pro, cake pops are the perfect project. They’re bite-sized, mess-free, and super customizable, which makes them great for parties, holidays, school events, or even just a fun afternoon with the kids.
What makes these little treats so special isn’t just how adorable they are — it’s the love and creativity you put into each one. You can stick to the classic flavors or get wild with your own twists. Use fun sprinkles, colorful coatings, or even different shapes. You’re the cake pop artist now!
Don’t forget — these treats aren’t just for you (unless you want them to be!). They make amazing gifts, party favors, or centerpieces. Wrap them in cellophane with a cute ribbon, and you’ve got a sweet surprise that anyone would love. And since they’re so easy to store, you can make a big batch ahead of time and always have something ready when a craving strikes.
FAQs About Homemade Cake Pops
Q: Can I use leftover cake to make cake pops?
A: Yes! Leftover cake is perfect for cake pops. Just crumble it up and mix with frosting like you would with freshly baked cake. If the cake is a little dry, you might need a bit more frosting to help it stick together.
Q: What kind of frosting works best?
A: You can use any kind of frosting! Buttercream, cream cheese, chocolate, or even store-bought frosting in a tub all work well. If you want a lighter version, try mixing in a bit of Greek yogurt. Just don’t use whipped cream—it’s too soft and won’t hold the cake balls together.
Q: Why are my cake pops cracking after dipping?
A: This usually happens when the cake balls are too cold and the melted coating is too hot. Let the cake pops sit out for a few minutes after chilling, and make sure your coating is warm but not super hot.
Q: My cake pops are falling off the sticks. Help!
A: This is a common problem. Here’s how to fix it:
Dip the stick in melted candy or chocolate before inserting into the cake ball—this acts like glue!
Want to take your cake pop presentation to the next level? Once you’ve made your homemade cake pops, it’s time to think about how you’ll serve and display them. Presentation makes all the difference — and that’s where a touch of unique style comes in! At Artisanat Marrakech on Chairish, you’ll find a beautiful collection of handcrafted pieces that are perfect for showcasing your sweet creations. From hand-painted trays and colorful ceramic plates to one-of-a-kind decorative bowls and stands, everything in the shop is carefully selected to bring warmth, artistry, and Moroccan charm into your kitchen or event.
These items don’t just look amazing — they tell a story and create a cozy, welcoming vibe for any gathering. Whether you’re planning a birthday party, a baby shower, or just a fun afternoon tea, our artisan pieces help turn your cake pops into a picture-perfect centerpiece. Explore our collection today and discover how easy it is to add a touch of global beauty to your everyday moments.

Homemade Cake Pops
Ingredients
Notes
Step-by-Step Instructions: How to Make Homemade Cake Pops
Let’s get baking! Here’s how to make cake pops in simple steps:🔥 Step 1: Bake the Cake
- Preheat your oven (check your cake mix box for the right temperature).
- Make the cake batter using the instructions on the box.
- Pour into a baking pan and bake.
- Let the cake cool completely—this is super important!
👐 Step 2: Crumble the Cake
- Once the cake is cool, break it into small crumbs using clean hands or a fork.
- Put the crumbs in a big bowl.
🍥 Step 3: Mix with Frosting
- Add a little frosting to the cake crumbs and mix.
- Keep adding frosting a spoonful at a time until the mix sticks together like dough.
- Don’t use too much or the pops will be too soft.
⚪ Step 4: Roll the Balls
- Scoop out a small amount of the mixture (about 1 tablespoon).
- Roll it into a ball using your hands.
- Place the cake balls on a baking sheet lined with parchment paper.
❄️ Step 5: Chill
- Put the cake balls in the fridge for at least 1 hour or in the freezer for 20–30 minutes.
- This helps them stay firm and not fall apart when dipping.
🍫 Step 6: Melt the Coating
- Melt your candy melts or chocolate in the microwave in 30-second bursts.
- Stir between each burst until smooth.
- If it’s too thick, add a little coconut oil or shortening.
🍭 Step 7: Insert the Sticks
- Dip the end of a stick into the melted chocolate.
- Stick it into the center of each cake ball (about halfway in).
- Let them sit a few minutes to firm up.
🎉 Step 8: Dip & Decorate
- Dip each cake pop into the melted chocolate and gently swirl to coat.
- Let the extra drip off.
- Add sprinkles or decorations before the coating dries.
- Stick the cake pops upright into a foam block or stand a colander upside down to hold them.
🧊 Step 9: Let Them Set
- Let the cake pops dry completely until the coating is hard.
- You can store them at room temp, in the fridge, or wrap them for gifts!
